

The Design of Art – Designing a landscape linocut
In this Design of Art blog, I will take you through some of the design concepts, from my perspective as a designer and design coach, that I use in my linocut landscapes. I’ll use my full colour lino print 'Blackshore' as an example.
I’ll explain my design decisions including:
Orientation and cropping
Pattern
Focus
Balance
Colour harmony
Orientation and cropping
My first design decision was to give this landscape artwork a portrait orientation, making the key features a horizontal element rather than the whole artwork. I have suggested more landscape exists to the sides by cropping the huts at both sides instead of drawing all the huts completely.
I decided to arrange the huts in a band across the full width of the picture to make a repetitive motif where the jagged roofs are sharply contrasted with the softer sky. The horizontal arrangement of the huts, the long boat and the timber boards on the huts contrast the verticality of the whole print.

Repeating patterns help unite the elements
Patterns
The repeating forms of the roofs create a consistent pattern across the width of the print, and the pattern of the timber boards helps to unite all the huts and provide a contrast to the focal point.
Focal point
The boat is a sharp and clearly defined negative shape cut out of the black, which contrasts the rougher shapes of the huts and foreground to create a focal point or piece of 'eye candy' within the scene. Although it is one of the simplest areas of the print; it is a very abstracted boat shape, I have raised it up the hierarchy of the elements within the piece by using colour and shallow elongated curves which don't appear anywhere else in the scene.
The swirling cloud pattern is intended to lead the eye down towards the boat which is also marked with a distant telegraph pole. It is also placed off centre rather than straight in the middle.
The logs in the foreground help to break up the expanse of ground and are also angled to draw the eye towards the focal point.

The arrangement of shapes within the artwork help guide the viewer’s eye to the focal point
Balance
I have also 'balanced' the large red shape of the boat with a flat area of blue sky above and to the left. Similarly, the busier cloud pattern to the right of the image is also balanced by the largest hut which is a more detailed area of the artwork.
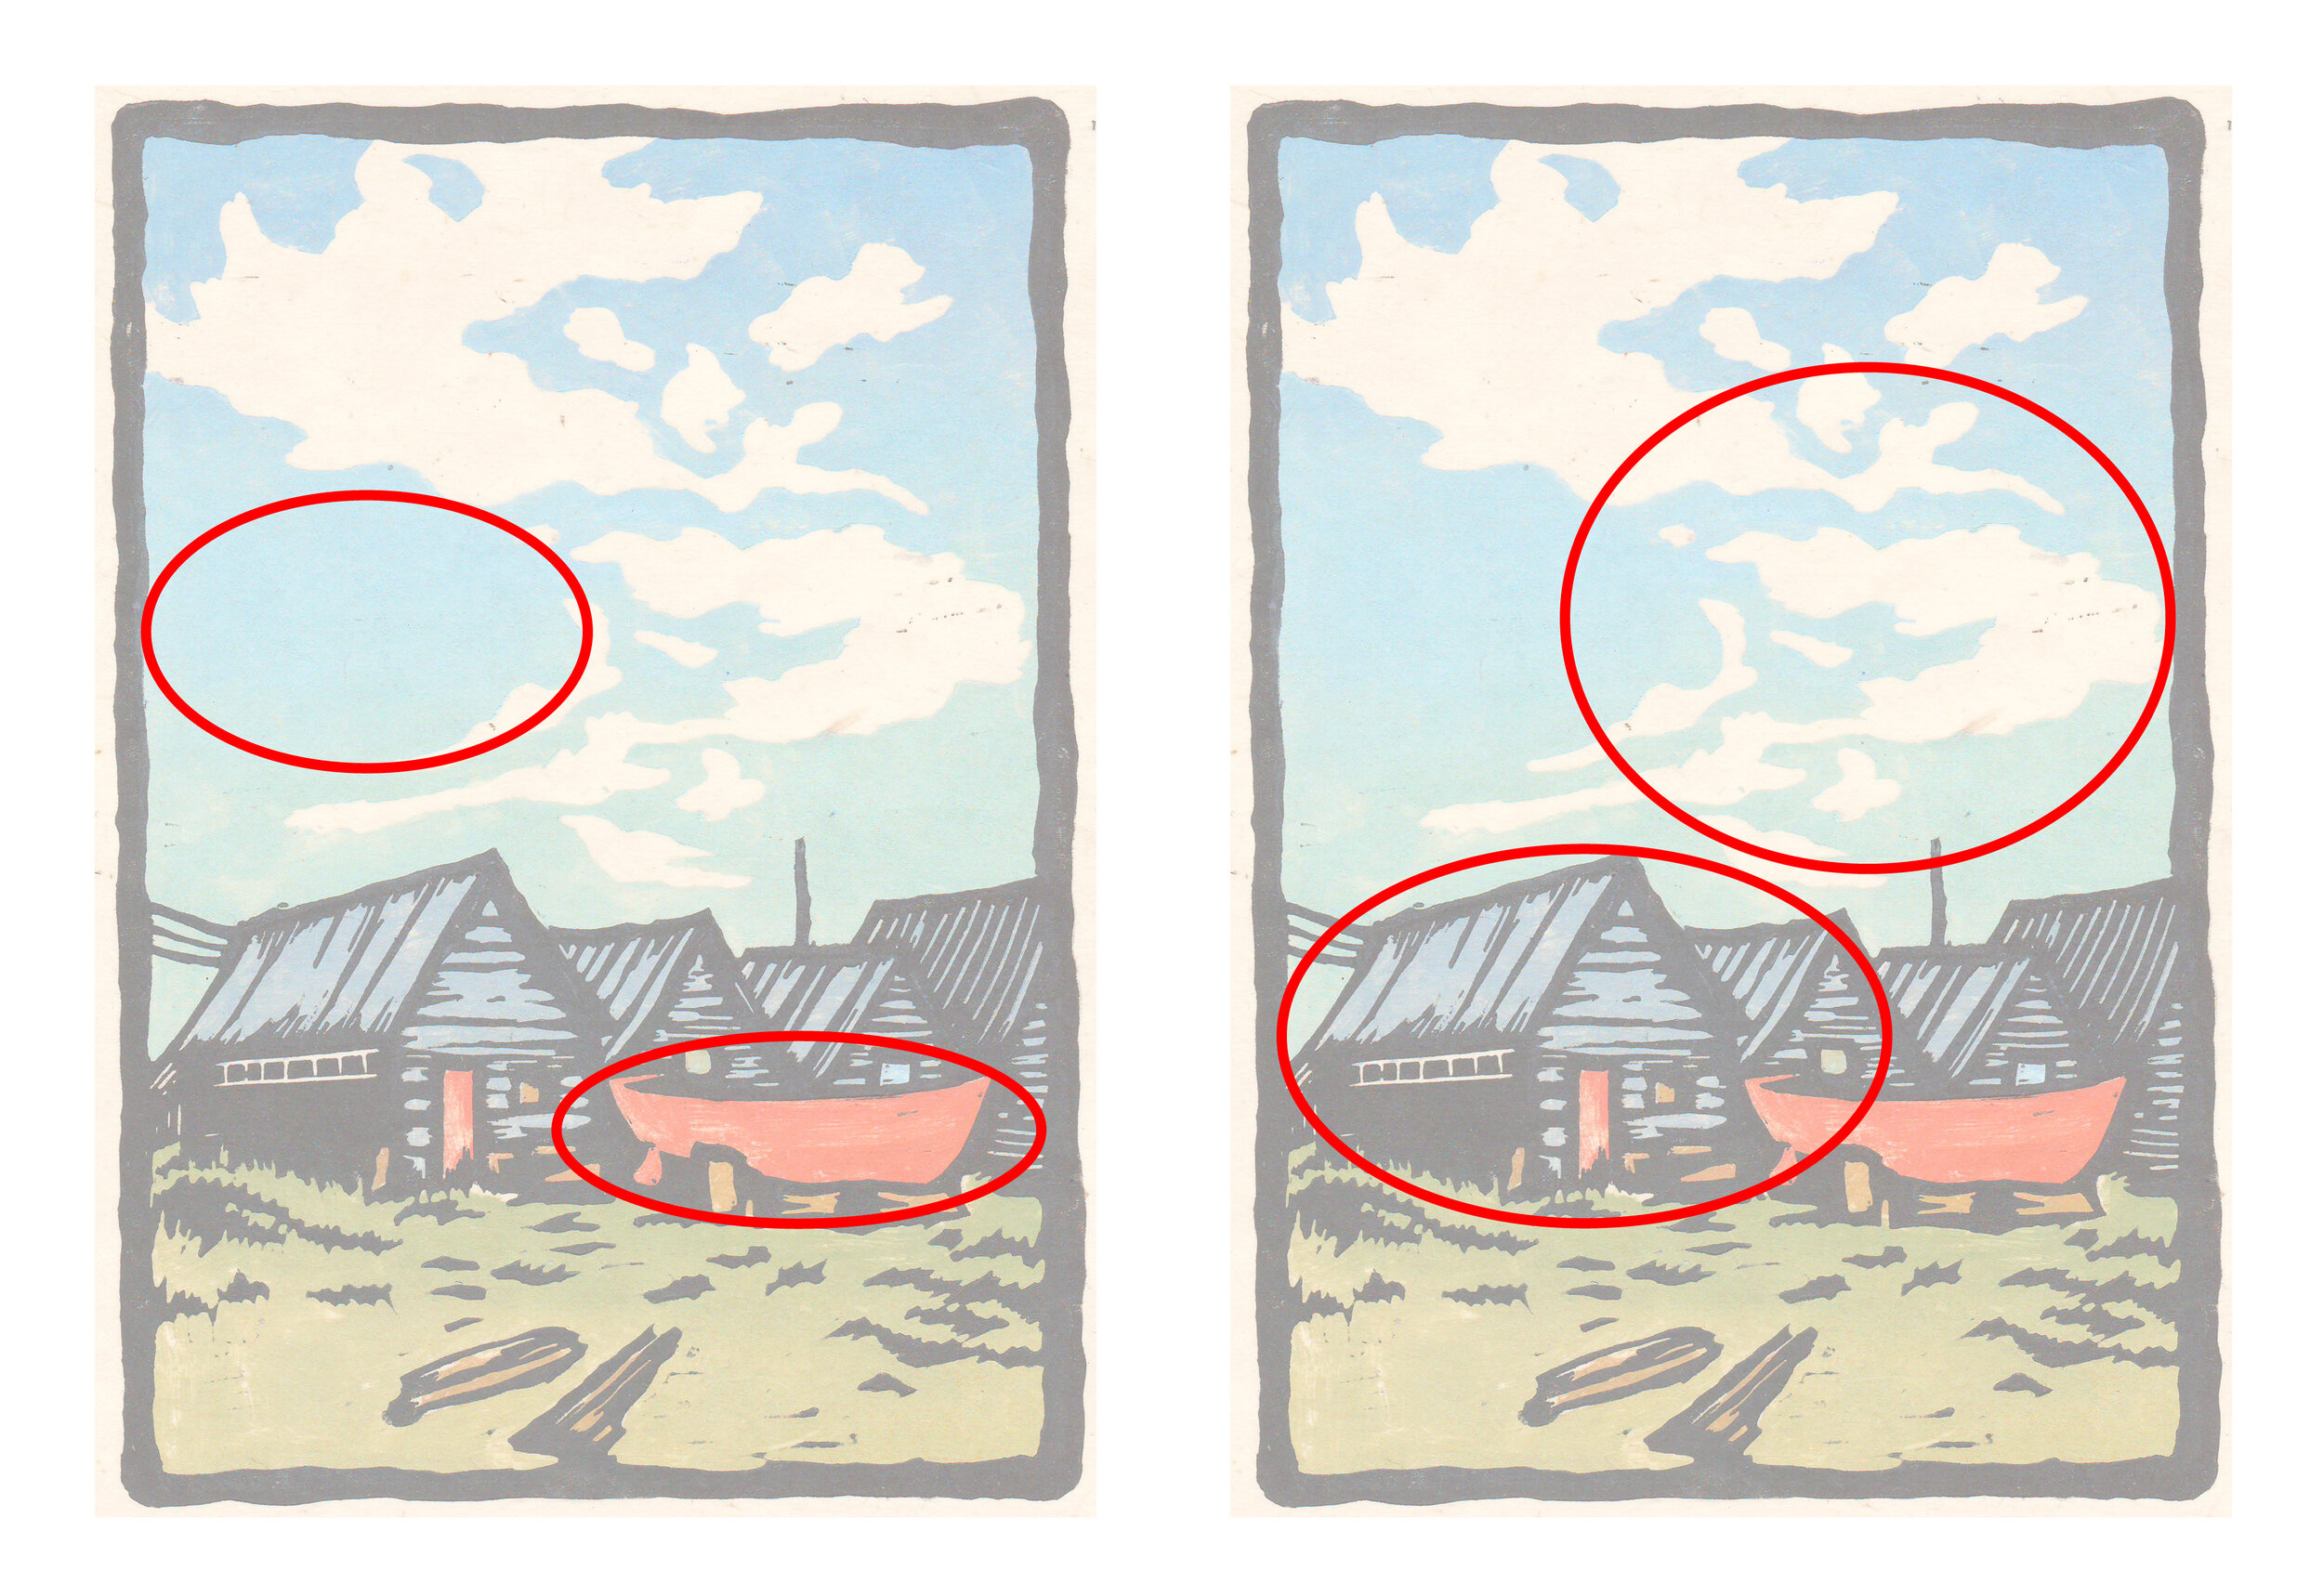
I have balanced key components of my design so interest is distributed evenly around the image
Colour harmony
I used a limited palette of tube colours to keep my range of mixed colours close, desaturated and therefore harmonious. The only exception being the focal point boat (and door) which is deliberately saturated to draw attention to, and contrast with, the more natural earthy colours of the ground and the blues of the sky and huts.
The cool blues of the sky contrast with the warmer reds and ochres of the lower part of the picture. The blue gradates to an almost green blue at the horizon where it then meets the green ground without too much of a shift in hue.
I have kept the foreground simple so as not to compete with the main area of interest, and the colours softly blend into one another instead of harsh patches of colour. I have tried to break up blocks of the black ink with smaller objects and areas of interest.

A colour analysis of ‘Blackshore’.
I used a limited palette of colours to help harmonise the artwork
I dotted the ochre colour around the composition to unite the foreground and midground, being aware that it relates to the creamy colour of the paper which makes up the cloud.
I always try to use colours in several places within an artwork to help unite the design as a whole. For example, I used the bright red on the hut door so it wasn't used just once. I made the huts blue to tie in to and enhance the gradient effect of the sky.

This greyscale version of my print shows how I kept the tonal values of my colours close
I have also kept the tonal values of the colour block quite consistent and light enough that the colours read well against the black framework, as you can see in my greyscale photo of the print.
I hope this analysis has given you a sense of some of the decisions I make when designing a full colour linocut. How do you like to design your artworks? If you use some of these ideas in your own work, let me know in the comments!